We’ve all been there: you eat a dish at a restaurant and think, “I’m going to cook that at home.” Then you get home and wonder what the HELL were you thinking.
Shellfish do that. Their simple flavors make you want to cook them up so you head to the market then get home and wonder what the heck to do with them. After all, a misstep with selection or prep and you could be facing anything from a sandy main dish to an upset stomach or worse. But hold on sister! Before you toss the shells aside and call for take-out, check out our tips for cleaning clams, mussels, and more (and it’s really not that hard!). In fact, once you do it a few times, you’ll be whipping out seafood meals in minutes.
Not convinced? Read on.
Shellfish Cleaning Basics
We’re starting with the basics because preparing good shellfish is a very basic skill. In fact, if you can follow these simple steps with confidence you’ll have no problems!
STEP 1: The Sniff Test
When you buy clams, mussels, or other shellfish, make sure that they’re fresh and be sure to store them on ice or in your refrigerator before cooking them.
When you’re ready to cook them, start by smelling the shellfish. They should smell like the sea. If they don’t, that’s your first indication of a problem. Any shellfish that have a bad smell should be thrown away immediately.
STEP 2: The Eye Test
Visually inspect each and every piece of shellfish. You’re looking for cracked or open shells. When you find them, set them aside in a colander for further inspection.
STEP 3: Tip Tap
Grab the batch you set aside. The goal is to determine which to keep and which to pitch. Start by tapping on any that have open shells. If they don’t close when you tap on them then they should be thrown away. This is not the time to be cheap. Bad seafood is bad news so be bold. When in doubt, throw it out.
STEP 4: Toss the Cracked Shells
Throw away all shellfish with cracked shells. Not sure? See step 3: When in doubt, throw it out!
STEP 5: One Last Look
Check the rest of the shellfish by pulling on the sides of the shell. If it opens or falls apart too easily then it’s not good and needs to be thrown away. Unsure? See step 3 again!
Soak, Rinse, and Cook Them Up
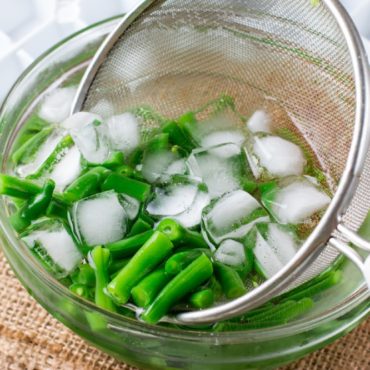
Now that you’re ready to cook your shellfish, you’ll want to prep them. Start by adding them to a bowl of cold water. Soak them for a minimum of twenty minutes to get any sand that may linger to release from their shell. Just remember, the goal of soaking is to draw out any remaining sand. If you pour them out into a strainer you’ll pour the sand into your container. Instead, use your hands or tongs to lift the shellfish out of the water so the sand is left behind.
Next rinse and scrub them under cool running water. Use a brush to remove any debris. Don’t be surprised if they open and close in response to the stimulation. That’s a good sign.
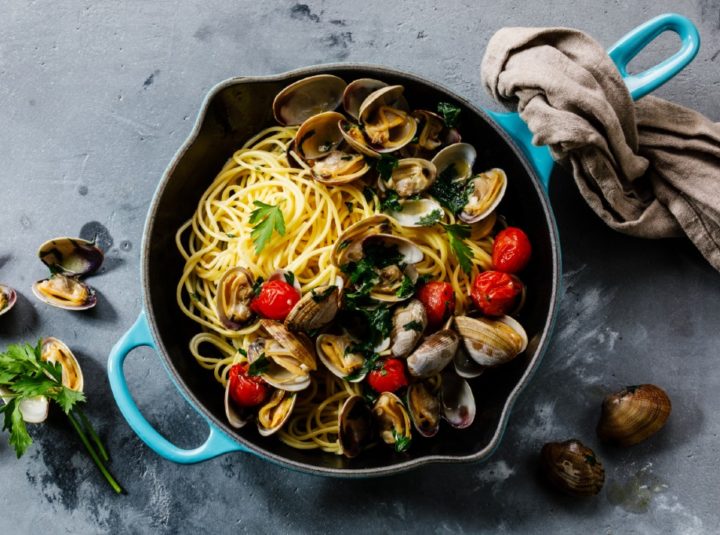
Now follow the steps in your favorite recipe and enjoy!
Have shellfish cleaning tips or recipes to share? Post them here!